Remodeling the metal for our projects is often difficult because of how hard the material is. It isn’t easy to shape, making a small mistake might ruin it, and if we fail, we must begin all over again.
But the quality of the projects we can create using metals is undeniable. It is a material that provides durability, resistance to plenty of environmental conditions, and harmful elements, which is why we know we need it.
We’re here to help you work your way around the metal to take full advantage of its qualities. Today, we’re going to learn how to drill a hole in this hard material without failing while we try.
On top of that, we’re going to learn how to drill a hole in brick as well. These two processes are quite similar, but there are a couple of differences we should know.
Table of Contents
Guide to Making Holes in Metal And Brick
Drilling a Hole in Metal

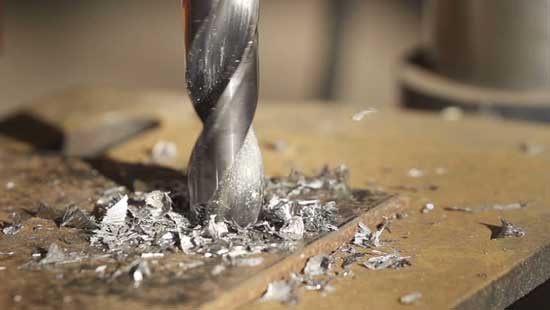
Our first objective is drilling a hole in a metal piece. There are several steps we must follow to do it properly.
- Step 1: The Right Bit
Depending on the metal you will use, the right bit might vary, and using the wrong one will produce unpleasant results that we don’t want. To avoid those situations, we must learn which bit is the most suitable for our task.
High speed steel, or HSS bits, work for the vast majority of metals, just like the carbon steel bits, which use a titanium nitride coating. If you’re using stronger metals, cobalt steel bits might do the job.
- Step 2: Securing the Metal
As you know, drilling metal produces high vibrations that could make our operation uncomfortable, not to say impossible. Clamping the metal right on our workplace, or using a vice to set it up, are both effective methods to keep it in its place while we drill.
- Step 3: The Drilling Spot
Now that the metal is in a secured position, our next step is to mark the spot where we’re going to drill the hole.
You can use a pencil, but make sure you are as precise as you can be.
Messing up a piece of metal is not something we can fix quickly, which is why we need to be very careful to have the exact drilling mark.
- Step 4: Gear Up
If you haven’t done it already, put on the safety equipment. Drilling causes plenty of debris that flies around, and we cannot control it.
Make sure you wear protective goggles to keep your eyes protected during the operation. Also, these goggles are necessary to maintain your target at sight, reducing the risks of mistakes and accidents.
Additionally, you should have a fire extinguisher nearby as well. Although it is unlikely to happen, the sparks from the metal drilling could create a fire under certain circumstances. We know it sounds a bit too much, but we never consider we need a fire extinguisher until we need it.
- Step 5: Preparing the Drill
Next, we’ll be setting the drill in place, right on top of the mark we previously did. Before pressing the button and start drilling, you want to make sure the drill angle is the right one.
Again, it is better to avoid mistakes because, if we do, we might have to get rid of the entire piece of metal and start working with another one. If you have trouble setting the angle, you could try modern drills, which include leveling bubbles capable of assisting you through this process.
- Step 6: Applying Enough Pressure
Drilling metals require a certain amount of pressure depending on its type. When we’re working on hard metals, we want to drill at a slow pace and at a steady rhythm.
Instead, for softer metals, we’ll need to do it at a faster speed. However, regardless of its type, it is better to work at a speed that does not exceed the medium.
- Step 7: Keep your Focus
Continue applying pressure until you’ve reached the depth you wanted. You want to be as focused as possible to avoid the bit goes any further than what we need. Nonetheless, don’t do a sudden stop, and keep the bit running at all times while you’re removing it out of the metal piece.
- Step 8: Inspect the Result
And there’s that! If you did everything correctly, then you should have a hole at the exact place you wanted it, and going through the piece of metal.
As you can see, it is not difficult, but rather a complex operation. It all sums up to having the right preparation before starting to drill in the metal.
Drilling a Hole in a Brick

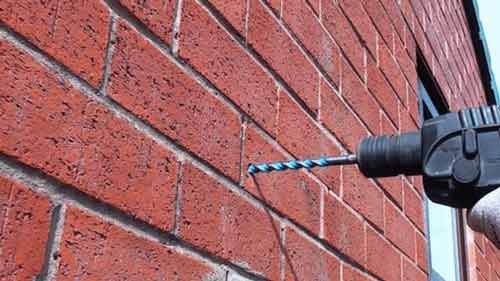
The process is very similar if we want to drill a hole in the brick. However, instead of using a regular bit, we’ll need a masonry bit. Find the bit with the right size for your job, mark the wall to have a clear target for your operation, wear your protective equipment, and start drilling.
You also want to have a bucket of water close. Drilling through a brick is highly demanding for the power drill, even for the most powerful ones. After a certain amount of time drilling, the bit will get hot, and it will be necessary to cool it off. Using a bucket of water is a great way to do it.
The bit might get stuck in the brick too, which is why you must stop to set it free if it is necessary. Don’t continue if it is stuck to the wall because it could end up damaging the drill and your hands.
Conclusion
With the right drill bit, working through hard materials is not a problem in most cases. Make sure you have the right tools and the proper safety equipment, and your operation will be highly satisfying.
