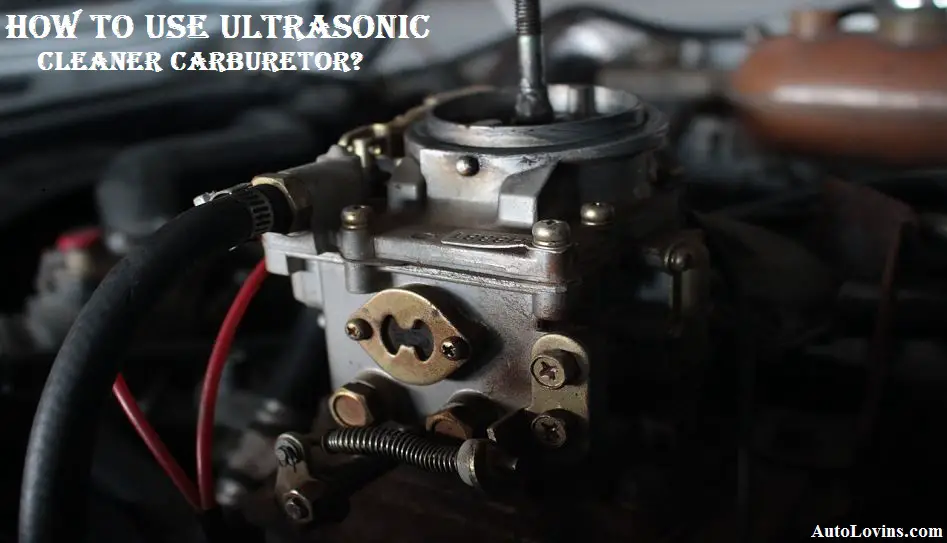
These days, most vehicles have stopped using a carburetor and are more inclined towards the fuel injection system. However, some small tools like rototillers, lawnmowers, and many more still use a carburetor to draw the energy to run.
Hence, the carburetor should be maintained properly for longer use. But, do you know how to use ultrasonic cleaner carburetors?
Table of Contents
Importance Of Ultrasonic Cleaner Carburetor
The carburetor mixes the air and fuel in a proper ratio for internal combustion engines. Due to this reason, it loses its efficiency as dirt, varnish, and other buildups get accumulated with time. Hence, cleaning the carburetor frequently is a must. The process is also important as cleaning the carb with tank washing cleaner, aerosol spray, and brushes are time-consuming and messy.
As we have mentioned, manually cleaning a carburetor is not a swift and smooth process to follow. This method usually requires professional help to disassemble the machine before cleaning. The reassembling would take more time with no affirmation that all the dirt and pollutants would be gone for sure.
Besides, using the manual method won’t be much effective as you can not access the crannies, nooks, blind holes in a complex carb assemblage. It also causes environmental issues because of the disposal of the solvent and spray.
How To Use Ultrasonic Cleaner Carburetor?

Once you have chosen the right cleaner for your carburetor, the rest is a fairly easy process.
- First, take the carburetor and carefully dismantle it so all the parts can have easy access to the water. An ultrasonic carburetor cleaner doesn’t require you to disassemble the tool. However, we suggest you do it to ensure the best outcome.
- Next, place the parts inside the parts basket or a place where you can keep them away from the tank bottom.
- Now, turn on the heater and choose a time for the cleaning cycle. Next, hit the go button, and the work is complete.
- Once all the parts are clean, take them out and drain them. You don’t need to scrub those parts with your hand, as the ultrasonic tank will wash them clean.
Make sure to check the time it takes to clean the carburetor with detergent and hot water. If you see the duration is significantly longer than the earlier ones, you would know it is high time to change the cleaning solution.
The Do’s
You can follow these simple tips to make sure the ultrasonic cleaner is performing at the best speed and maintaining the safety measure in the process.
- Never forget to unplug the unit before emptying the suspension. The heating elements can be energized accidentally and make the cleaner overheat and collapse. As electricity and water don’t mix, it can be lethal for the human body if it becomes involved somehow.
- Don’t forget to remove the detergent and clean the tank every other day. The fallen heavy dirt and muck from the cleaned part can sit at the bottom and clog the filtration system. As a result, they will fill the space and dull the ultrasonic waves making the cleaning less efficient. Clean the bottom of the tank with a rag or clean and cool water.
- Change the filters of the filtration system regularly. This way, the filtration system will clean the floating debris after the ultrasonic cleaner removes all the dirt. Changing the filter will ensure the cleaning task is done faster and better.
- Use a water-based detergent as the solvent-based ones are not suitable for ultrasonic cleaners. Besides, it may damage the tank surface almost instantly.
- If possible, spray or wipe down the parts with greasy and heavy pollution before you put them in the ultrasonic cleaner.
- Before you start the cleaning, vent the new detergent as a fresh solution is bound to have trapped air in it. Degassing would quicken the cleaning process by merely taking less than ten minutes.
The Don’ts
If you want to prevent any damage to the ultrasound cleaner or yourself, you should refrain from doing some things.
- Never mess with the transformers, unit, or electrical control, or even try to repair it yourself. The high voltage power can cause heavy damage to the tool and yourself as well.
- Don’t spray on the exterior of the tank and the electrical box with water or any other liquid. Use a clean rag to wipe it instead.
- Never load the ultrasonic cleaner tank with gasoline, alcohol, or any other ignitable liquids. They can cause an explosion or fire, or discharge toxic gasses into the workstation.
- Always use thermal gloves and goggles while operating the ultrasound cleaner.
- Don’t use chlorine bleach in the cleaner tank. Chlorine decreases the speed of the cavitation process.
- Don’t keep the carb parts directly on the tank bottom as it can cause erosion and leaking of the cleaner. Use a tray or basket to keep the parts safe.
The Advantage Of An Ultrasonic Cleaner For Carburetors
The most significant fact regarding the ultrasonic cleaner for carburetor would be the speed. The ultrasonic cleaner is a fast method that needs less than 20 minutes to clean your carb. Besides, the carburetor won’t be needing much disassembly to do the work.
This also reduces the labor cost as you don’t need a professional to perform it. You can clean the carburetor by using the ultrasonic cleaner, which also helps to increase your productivity.
How Effective Is The Ultrasonic Cleaner Carburetor?
While you can not access all the parts with solvents, brushes, and sprays, the ultrasonic cleaner has the capacity to do it all. The mechanism that is applied in this process is known as cavitation. Be it a crevice, cracks, or blind holes, the tiny bubbles of the ultrasonic cleaner are capable to reach all the sections immersing in the cleaning solution.
You simply have to pick the proper cleaner for your carburetor, and you are good to go!
Ultrasonic Cleaner Carb Cleaning the easy way!
Final Words
Hopefully, you have gotten the answer of how to use ultrasonic cleaner carburetor with a safe and smooth approach. Remember, the carburetor of a tool is an integral part that you have to maintain carefully. While cleaning with the ultrasonic cleaner is a reliable and easy process, even a tiny mistake can cause you more hassle than ease.
